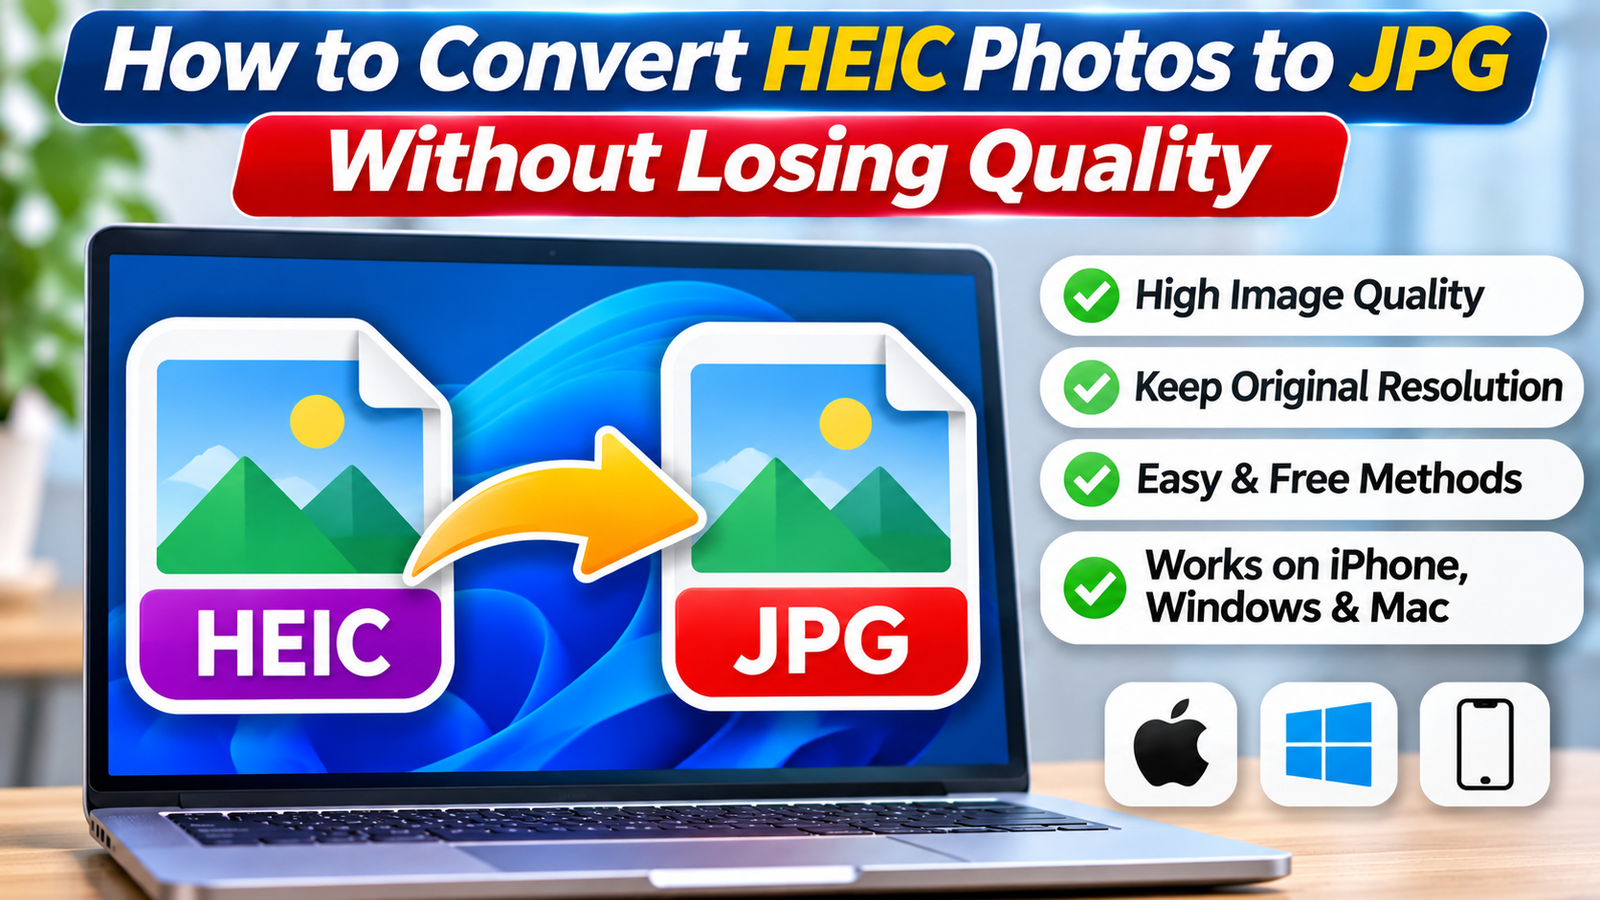
You transfer photos from your iPhone to a Windows computer, try opening them, and discover unfamiliar files ending in .HEIC. Or perhaps a website refuses to accept your pictures because it only supports JPG or PNG.
HEIC is an efficient image format commonly used by Apple devices, but it isn’t universally supported by every application or website.
Fortunately, converting HEIC photos to JPG is usually straightforward. You can use built-in tools on Mac, compatible Windows applications, or automatic conversion options on your iPhone.
The important part is preserving as much of the original image quality as possible. Choosing appropriate export settings helps prevent blurry photographs, unexpected color changes, and unnecessary resolution loss.
Can You Convert HEIC to JPG Without Losing Quality?
You can convert HEIC to JPG while maintaining excellent visual quality, but there is an important technical distinction.
JPG uses lossy compression, meaning some image information may be discarded when the file is encoded.
Therefore, converting HEIC to JPG is not generally a mathematically lossless process.
However, using a high JPEG quality setting and preserving the original image dimensions can produce results that look nearly identical during ordinary viewing.
For the best outcome:
-
Export using a high-quality JPEG setting.
-
Keep the original image resolution.
-
Avoid repeatedly converting or resaving the JPG.
-
Preserve color profiles when your software supports them.
-
Keep an untouched copy of the original HEIC photo.
If you require strictly lossless image conversion, PNG or TIFF may be more appropriate, although these formats can create significantly larger files.
What Is a HEIC File, and Why Does the iPhone Use It?
HEIC stands for High Efficiency Image Container. It is commonly associated with the HEIF image format and HEVC-based compression.
Apple introduced support for high-efficiency photo storage to help reduce the space required for photographs while maintaining good visual quality.
Compared with traditional JPEG, HEIC can offer more efficient compression, although actual file sizes depend on image content and encoding settings.
HEIC can also support features such as higher bit depths and additional image information.
HEIC vs. JPG: What’s the Difference?
| Feature | HEIC | JPG |
|---|---|---|
| Compression | Usually highly efficient | Lossy JPEG compression |
| Compatibility | Varies by device and software | Widely supported |
| Image quality | Excellent at suitable settings | Excellent at high quality |
| File size | Often smaller at comparable quality | May require more storage |
| Best use | Efficient photo storage | Sharing and broad compatibility |
JPG remains a practical choice for website uploads, email attachments, and applications that don’t support HEIC.
Method 1: Convert HEIC to JPG on Mac Using Preview
If you have a Mac, Preview provides a convenient way to convert HEIC images without installing third-party software.
Step-by-Step Instructions
-
Locate the HEIC photograph in Finder.
-
Double-click the image to open it in Preview.
-
Select File > Export from the menu bar.
-
Open the Format dropdown.
-
Choose JPEG.
-
Adjust the Quality slider toward the higher end.
-
Choose a destination folder.
-
Click Save.
Your Mac creates a JPEG version of the photograph.
The original HEIC file can remain unchanged.
Recommended Quality Settings
For photographs you want to preserve carefully, choose a high JPEG quality setting.
Avoid unnecessary resizing during export.
If your software provides color profile options, preserve an appropriate profile for your intended use. For broad web compatibility, sRGB is commonly used, but converting color profiles may change how some colors are represented.
After exporting, open both versions and compare important details.
Method 2: Convert HEIC to JPG on Windows 11 or Windows 10
Windows users can convert HEIC photographs using compatible image software.
However, HEIC support depends on installed codecs, applications, and Windows configuration.
Step 1: Check HEIC Compatibility
First, double-click your HEIC file.
If it opens in Microsoft Photos or another installed application, your computer already has software capable of reading it.
If Windows cannot open the image, it may need the appropriate HEIF support.
Microsoft provides HEIF Image Extensions through its official Store. Some configurations also require HEVC decoding support, which may have separate licensing requirements.
Avoid downloading unknown codec packages from unofficial websites.
Step 2: Save the Image as JPEG
If your version of Microsoft Photos supports the necessary export functionality:
-
Open the HEIC image in Photos.
-
Open the available Save as or export option.
-
Choose JPEG if the option is provided.
-
Select the destination folder.
-
Save the converted image.
Available controls vary between Photos versions.
Alternatively, open the HEIC file in a compatible image editor that explicitly supports JPEG export.
If the application provides a quality slider, choose a high setting and retain the original dimensions.
Method 3: Convert HEIC Photos to JPG on iPhone
Your iPhone can help you avoid HEIC compatibility problems before transferring photographs.
There are two useful approaches.
Option 1: Change the Camera Format for Future Photos
If you frequently need JPG images, adjust your camera settings.
-
Open Settings on your iPhone.
-
Navigate to Camera > Formats.
-
Select Most Compatible.
-
Capture a new photograph.
For supported standard photo modes, the iPhone will generally use JPEG rather than HEIF.
This change affects future photographs, not HEIC images already stored in your library.
Some specialized capture modes may use different formats.
Option 2: Use Automatic Conversion During Transfer
Apple devices can sometimes convert HEIC images into compatible formats when transferring them to a computer.
On supported iOS versions, check:
Settings > Apps > Photos > Transfer to Mac or PC
On older versions, the Photos settings may appear directly in Settings.
Select Automatic if that option is available.
This can improve compatibility during supported transfer workflows, although conversion behavior depends on the device, software, and transfer method.
It does not guarantee that every shared photo will become a JPG.
Method 4: Convert Multiple HEIC Files at Once
Converting photographs individually becomes inconvenient when you have hundreds of images.
Batch conversion software can process several HEIC files in one operation.
On Mac, Preview supports opening multiple images and exporting selected items, although the available workflow can vary by macOS version.
On Windows, use a reputable image application that supports HEIC input and batch JPEG output.
When configuring batch conversion:
-
Select the original HEIC files.
-
Choose JPEG as the output format.
-
Set a high image-quality level.
-
Preserve the original width and height.
-
Choose a separate output folder.
-
Convert a small sample first.
-
Inspect the results before processing everything.
Using a separate folder prevents accidental overwriting of your originals.
Method 5: Use an Online HEIC to JPG Converter
Online conversion tools can be convenient when you cannot install software.
Typically, you upload a HEIC file, select JPG, and download the converted photograph.
However, there are important considerations.
Uploading images to an online converter means sending them to a third-party service.
Personal photographs may contain faces, private surroundings, or location metadata.
Before using an online converter, review its privacy policy, retention practices, and available quality settings.
For sensitive or confidential photographs, offline conversion is generally preferable.
Also, avoid services that require unnecessary browser permissions or unrelated software downloads.
How to Preserve Maximum Image Quality
Choosing the correct conversion method matters, but export settings are equally important.
Keep the Original Resolution
If your HEIC image measures 4032 × 3024 pixels, preserving those dimensions helps retain its original level of detail.
Reducing the dimensions creates a smaller image but permanently removes pixels from the exported copy.
Avoid Repeated JPEG Compression
Each lossy JPEG re-encoding can introduce additional artifacts.
Convert the HEIC original once, then keep that JPG as your sharing copy.
For future editing, return to the original HEIC whenever possible.
Watch for Color Differences
Some HEIC photographs contain wide-gamut color information or higher-bit-depth image data.
JPEG export may reduce the available color precision or convert the color space.
This can cause subtle differences in gradients, highlights, or highly saturated colors.
For important photography work, use color-managed editing software and inspect the final export.
Common HEIC Conversion Problems
Converted JPG Looks Blurry
Check whether the converter resized the photograph or applied aggressive compression.
Try exporting again at a higher quality setting while preserving the original dimensions.
HEIC File Won’t Open
Your device may lack the required decoding support, or the file may be damaged.
Try opening it on the original iPhone or Mac before installing additional software.
Photo Metadata Disappears
Some converters remove camera information, dates, or GPS metadata.
If you need this information, choose software that supports metadata preservation and verify the exported file afterward.
Conversely, removing location metadata can be useful when sharing photos publicly.
Frequently Asked Questions
Does converting HEIC to JPG reduce image quality?
Technically, JPEG encoding is lossy, so some information can be discarded. However, high-quality conversion often produces photographs that look nearly identical to the originals. Preserve the resolution, avoid repeated compression, and compare the converted image before deleting anything.
Can I convert HEIC to JPG for free?
Yes. Mac users can use Preview, while Windows users may have compatible image applications available. Some free tools also support batch conversion. HEIC decoding support on Windows can depend on installed extensions, and certain components may require payment.
Why are my iPhone photos saved as HEIC instead of JPG?
Compatible iPhones can use the High Efficiency camera setting, which stores standard photographs in HEIF-based formats. This helps reduce storage requirements. You can choose Most Compatible in Camera settings for future standard photographs when broader JPEG compatibility is important.
Is HEIC better than JPG for storing photographs?
HEIC often provides better storage efficiency and supports additional image capabilities. JPG offers broader compatibility with websites, applications, and older devices. Keeping HEIC originals for storage while creating high-quality JPG copies for sharing can provide a useful balance.
Conclusion
Converting HEIC photos to JPG is an effective way to improve compatibility across computers, websites, and mobile applications.
Mac users can export images through Preview, Windows users can choose compatible image software, and iPhone owners can adjust camera or transfer settings to simplify future sharing.
Although JPEG conversion cannot guarantee mathematically lossless results, high-quality export settings can preserve excellent visual detail.
For the best results, maintain the original resolution, avoid repeated compression, and keep your HEIC originals safely stored.